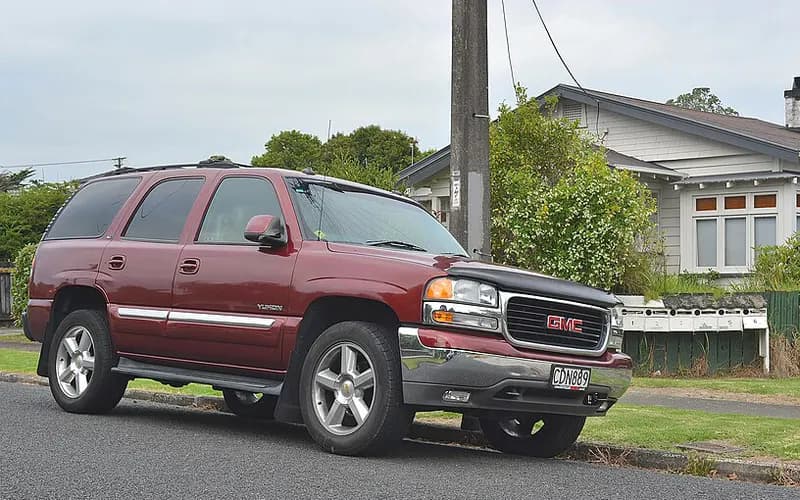
GMC Yukon 2000–2006
Common on this vehicle:Warning lightNoiseLeakMisfire or rough idleVibration or shudderAir conditioning or heaterReduced brakingCorrosion or rust
Possible causes
47 causes not drawn
- Hydro-boost brake assist and power steering share one hydraulic supply (four campaigns)1
- Violent steering wheel shake or vibration at road speed (brake booster)1
- ABS lamp with DTC C0265 (EBCM motor relay circuit) after EBCM replacement1
- Front floor carpet wet or musty odor (rear door water deflector replacement)2
- Door sags or is hard to open or close (worn or corroded hinge pins and bushings)1
- Broken latch of the rear cupholder in the center console (replace the latch only)1
- Second-row rearward folding head restraint pinch points - recall 02V-2531
- Side access door noise (door check link replacement)1
- Oil leak after cold start from frozen PCV system (rear main seal)3
- Rear bank knock sensor corrosion from water intrusion (P0332)4.8L, 5.3L, 6.0L only3
- Lean hesitation, sag or stumble at -6 to +20°C coolant temperature (PCM reprogram)4.8L, 5.3L, 6.0L only2
- Intake manifold gasket leak (cold idle misfire, lean codes)1
- Higher than expected engine oil consumption (PCV valve replacement)4.8L, 5.3L, 6.0L only1
- P0300 after engine repairs: injector connectors crossed (cylinders 5-7 / 6-8)1
- Slight roughness at idle with no DTCs (possible characteristic)1
- Passlock theft deterrent: starts then stalls / no-start with security lamp4
- Ground Ring Terminal: loose or misadjusted3
- Generator whine in the audio system (new ground for radio and amplifier)1
- Intermittent battery drain from a sticking A/C compressor relay1
- Rear wiper jumps when the fog lamps are turned on (auxiliary ground to rear washer pump)1
- Conversion equipment (not the vehicle as built): Southern Comfort running board courtesy lights overheating - recall 03V-0941
- Trailer brakes applied whenever headlamps or park lamps are on (brake controller jumper harness)1
- Turn signal flashes fast (export flasher relay installed)1
- Engine Control Module: failed1
- Tire recall (not the vehicle as built): Firestone Wilderness LE tread separation - recall 01T-0011500 only4
- Bolt1
- Engine compartment noise with A/C on and A/C inoperative (auxiliary rear A/C: suction hose and compressor)3
- A/C blows warm at extended idle (6.0L: auxiliary electric cooling fan)6.0L only1
- Loss of HVAC mode or temperature control (wiring harness rerouted)1
- Passenger side colder or warmer than the driver's side (HVAC case to cowl seal)1
- Insufficient heat from the rear heater in extreme cold (tee coupling replacement)1
- Encoder Motor: electrical fault, failed2
- Vehicle body tilt or lean left / right (torsion bar front suspension)3
- Aftermarket part (not the vehicle as built): Federal-Mogul National / Carquest replacement wheel hub assembly retention nut - recall 07E-1062WD only1
- Upper control arm bracket alignment (dowel) pin missing at front end alignment1
- Hub Assembly: worn1
- 4L80-E / 4L85-E planetary gear whine in first and second gear2
- 4L60-E slip or no forward engagement right after input housing replacement (service part 17803687)1
- Service 4WD indicator and DTC B2725 (transfer case shift control switch)4WD / AWD only1
- Electronic transfer case stops shifting with no DTC (shift abuse lock out mode, normal)1
- Transfer case speed sensor connector locks bend on disconnect (improved connector)1
- Grind / ratchet noise when shifting into Park in 4LO (characteristic)1
- Transmission: failed2
- OnStar System: failed, software2
- CD Player: software1
- OnStar Hardware: software1
- Purge Solenoid: failed1
Causes with no correction stated (33)
Causes the records name for which no check or repair is stated, in a technical document or in a record. Press one for the records that name it.
- Audio and telematics
- OnStar Vehicle Integration Unit: failed (4)OnStar Theft Notification: design or manufacturing, software (2)GPS: failed (1)
- Body, doors and interior
- Seat Back: loose or misadjusted (4)Head Restraint: design or manufacturing (2)
- Transmission and driveline
- Transfer Case: failed (4)Locking Rear Differential (2)Rear Axle: failed (2)Axle Differential Seal: leaking (1)Driveshaft (1)
- Electrical, wiring and power
- ATC Fuse: electrical fault, failed (2)Battery: broken (1)Cable: broken (1)Fuse: failed (1)
- Heating and air conditioning
- Air Conditioning Control Head: failed (1)Air Conditioning Low Pressure Switch: design or manufacturing (1)Blower Motor: failed (1)Evaporator Coil: clogged or contaminated (1)
- Airbags and seat belts
- Airbag: design or manufacturing (1)Airbag Sensor: failed (1)Seat Belt Buckle: clogged or contaminated (1)
- Suspension, wheels and tires
- Automatic Level Control: clogged or contaminated (1)Rear Axle Retainer Button: broken (1)
- Instruments and lighting
- Bulb: electrical fault (1)
The documents say what to doOnly records name itThe size of a node, the width of a link and the numbers are records matching this search, not likelihoods.
FaultCrate・GMC Yukon 2000–2006・2000
Candidate cause (the documents say what to do)
No response when the OnStar button is pressed (DTC B2476): button assembly test values
On 1998-2000 OnStar equipped vehicles there may be no response when the OnStar button is pressed.
The OnStar VS-3B buttons may not operate and the telltale LED may not flash after the OnStar Center button or Emergency button is pressed; a DTC B2476 may also be present.
How to tell
B2476
What to do
- With the ignition in the On position, check for 7-10 volts between pin E6 and E1; if there is no voltage and the wire at the terminal is not shorted to ground, replace the VIU.
- Back probe the blue VIU connector between terminals E4 and E1: there should be no voltage with the system on and no buttons pressed.
- Press and hold the Call Answer/End button: the voltage should be 0.33 volts +/- 10%.
- Press and hold the OnStar Services button: the voltage should be 1.3 volts +/- 10%.
- Press and hold the Emergency button: the voltage should be 2.2 volts +/- 10%.
- If the readings do not agree with the specified values, replace the button assembly; if it is a mirror mounted button assembly, replace the mirror.
Caution: In these cases use OnStar Diagnostic Table DT3 (OnStar Button Assembly Test), but the values given in step 7 of that test are incorrect.
What is needed
- Parts and materials
- VIU (if there is no voltage between pin E6 and E1 and the wire at the terminal is not shorted to ground)
- Button assembly (if the readings do not agree with the specified values; the mirror, for a mirror mounted button assembly)
- Labor time
- Not stated
- Special tools
- Not stated
- Scan tool
- Not stated
Only what the technical documents state. "Not stated" does not mean not needed.
In the records
No record states work done for this cause.
See the evidence (1 technical documents, 1 records)
Passages of the technical documents
The affected models include the 2000 GMC Yukon 2WD & 4WD and Yukon XL 2WD & 4WD.
2000 GMC Yukon 2WD & 4WD and Yukon XL 2WD & 4WD
General Motors 2000-09-01
On 1998-2000 OnStar equipped vehicles there may be no response when the OnStar button is pressed.
T h e re may not be a response when the OnStar button is p ressed on 1998-2000 OnStar equipped vehicles.
General Motors 2000-09-01
The OnStar VS-3B buttons may not operate and the telltale LED may not flash after the OnStar Center button or Emergency button is pressed; a DTC B2476 may also be present.
In addition, the OnStar VS-3B buttons may not operate and the telltale LED may not flash after the OnStar Center button or E m e rgency button is pressed. A DTC B2476 also may be pre- sent in the system.
General Motors 2000-09-01
With the ignition in the On position, check for 7-10 volts between pin E6 and E1; if there is no voltage and the wire at the terminal is not shorted to ground, replace the VIU.
1. Ignition in On position. 2. Check to ensure Voltage of 7- 10 Volts between Pin E6 and E1. If there is no voltage here and the wire at terminal E^ is not shorted to ground, Replace the VIU.
General Motors 2000-09-01
A cause or a result a complaint states is the owner’s view or what a dealer told them, not an established fact.
Put together by FaultCrate from public records and technical documents. The cause and the repair are for the workshop to decide with the vehicle in front of it. Counts are records, not failure rates.