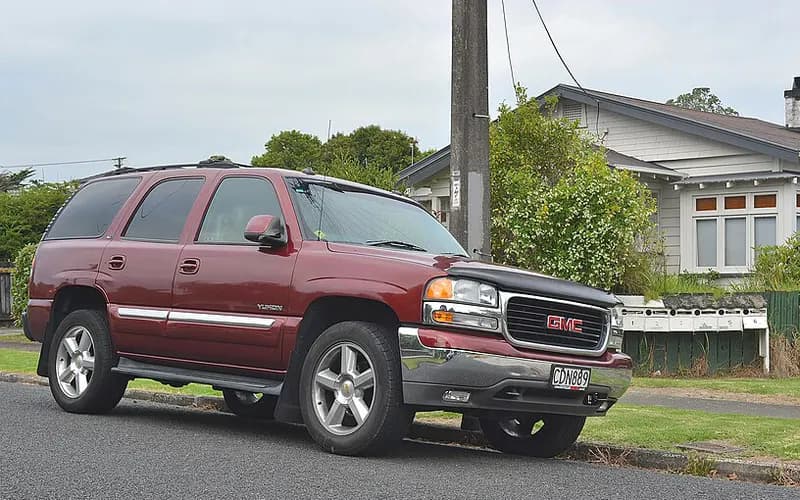
GMC Yukon ユーコン 2000–2006
この車種に多い症状:警告灯
記録ごとのつながり
原因または対応が記載された記録は 1件です。図は、症状から原因・作業・結果へのつながりを示しています。項目を選ぶと、その記載がある記録に絞り込めます。
記録を1件ずつ見る(1件)
既知の不具合OnStar ボタンを押しても反応しない(DTC B2476、ボタンアセンブリの点検値)1件
メーカー通知2000 GMC YUKON ・ 2000-09-01
OnStar ボタンの点検(診断表 DT3 手順7 の正しい値)
1故障の状態
- 1998-2000年式の OnStar 装着車で、OnStar ボタンを押しても反応がないことがある。
- OnStar VS-3B のボタンが作動せず、OnStar Center ボタンや Emergency ボタンを押しても表示 LED が点滅しないことがある。診断コード(DTC)B2476 が入っていることもある。
2原因の特定
点検手順(文書の順)
- イグニッション On で、ピン E6 と E1 の間に 7-10 V あることを確かめる。電圧がなく、その端子の配線がアースに短絡していなければ、VIU を交換する。
- 青色の VIU コネクターの端子 E4 と E1 の間を裏側からプローブで測る。システムが On でどのボタンも押していないとき、電圧は出ないのが正しい。
- Call Answer/End ボタンを押し続ける。電圧は 0.33 V ±10% が正しい。
- OnStar Services ボタンを押し続ける。電圧は 1.3 V ±10% が正しい。
- Emergency ボタンを押し続ける。電圧は 2.2 V ±10% が正しい。
3対処
修理
- 測定値が規定値と合わなければボタン一式を交換する。ミラーに組み込まれたボタンの場合はミラーを交換する。
注意
- これらの場合は OnStar 診断表 DT3(OnStar Button Assembly Test)を使うが、その手順7 に書かれた値は誤っている。
記録の本文を読む
メーカーの文書の本文から
- 対象:対象車種には 2000年式 GMC Yukon(2WD・4WD)と Yukon XL(2WD・4WD)が含まれる。
- 状態:1998-2000年式の OnStar 装着車で、OnStar ボタンを押しても反応がないことがある。
- 状態:OnStar VS-3B のボタンが作動せず、OnStar Center ボタンや Emergency ボタンを押しても表示 LED が点滅しないことがある。診断コード(DTC)B2476 が入っていることもある。
- 注意:これらの場合は OnStar 診断表 DT3(OnStar Button Assembly Test)を使うが、その手順7 に書かれた値は誤っている。
- 点検方法:イグニッション On で、ピン E6 と E1 の間に 7-10 V あることを確かめる。電圧がなく、その端子の配線がアースに短絡していなければ、VIU を交換する。
- 点検方法:青色の VIU コネクターの端子 E4 と E1 の間を裏側からプローブで測る。システムが On でどのボタンも押していないとき、電圧は出ないのが正しい。
- 点検方法:Call Answer/End ボタンを押し続ける。電圧は 0.33 V ±10% が正しい。
- 点検方法:OnStar Services ボタンを押し続ける。電圧は 1.3 V ±10% が正しい。
- 点検方法:Emergency ボタンを押し続ける。電圧は 2.2 V ±10% が正しい。
- 修理:測定値が規定値と合わなければボタン一式を交換する。ミラーに組み込まれたボタンの場合はミラーを交換する。
GM TechLink のこの号(英語)を開く ↗ 上の要点は、GM が販売店の整備士向けに出していた月刊誌 TechLink の記事から読み取ったものです。記事そのものは載せていません。
- 対応
- OnStar Button Test 2000 GMC Yukon 2WD & 4WD and Yukon XL 2WD & 4WD T h e re may not be a response when the OnStar button is p ressed on 1998-2000 OnStar equipped vehicles. In addition, the OnStar VS-3B buttons may not operate and the telltale LED may not flash after the OnStar Center button or E m e rgency button is pressed. A DTC B2476 also may be pre- sent in the system. If any of these conditions are pre s e n t , refer to the OnStar Diagnostic Table DT3 (OnStar Button Assembly Test). However, the values given in step 7 of the test are incorre c t . 2. Check to ensure Voltage of 7- 10 Volts between Pin E6 and E1. If there is no voltage here and the wire at terminal E^ is not shorted to ground, Replace the VIU. 3. Back probe the blue VIU connector for Vo l t a g e between terminals E4 and E1. There should be no voltage when the system is On and no buttons are depre s s e d . 4. Press and hold the Call Answer/End button. The Voltage should be 0.33 volts +/- 10%. 5. Press and hold the OnStar Services button. The voltage should be 1.3 Volts +/- 10%. 7. Press and hold the Emergency button. The voltage should be 2.2 Volts +/- 10% If the readings do not agree with the specified values, the button assembly must be replaced. If this is a mirror mounted button assembly, the mirror must be re p l a c e d .