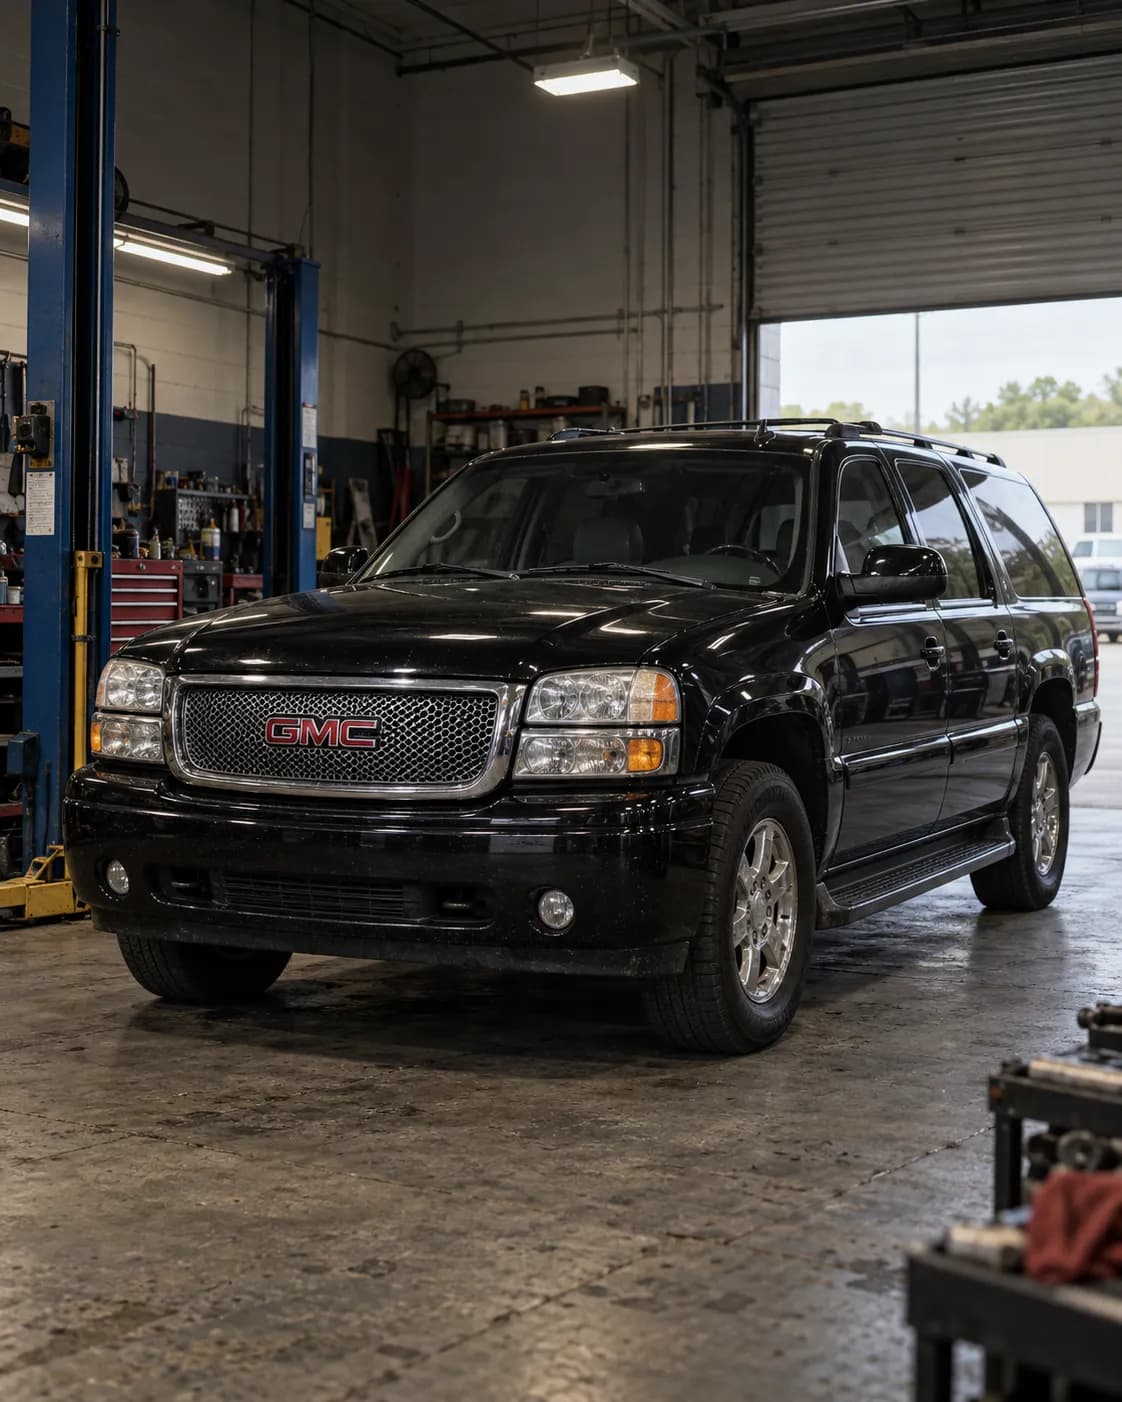
Source reference 10228888
Manufacturer communication — 2006 GMC YUKON DENALI XL
Relation to the target vehicle
- The source's vehicle field includes the trim.
- Model year
- Match 2006 — Source vehicle field
- Model
- Match YUKON DENALI XL — Source vehicle field
- Trim
- Match Denali — Source vehicle field
What the manufacturer’s document says
21-NA-124 ・ fault and correction ・ for GM vehicles in general
Applies to
This bulletin only applies to vehicles with gasoline engines.
the passage
This bulletin only applies to vehicles with gasoline engines.
Fault
The MIL is illuminated, and DTC P0442 (EVAP small leak detected) and/or P0455 (EVAP large leak detected) may be set in the ECM.
the passage
• P0442: Evaporative Emission System Small Leak Detected • P0455: Evaporative Emission System Large Leak Detected
Finding the cause
Possible causes
P0455 sets because of a large leak or a purge blockage: an unseated tube connection, a damaged tube, a canister vent valve stuck open, or a purge valve stuck closed.
the passage
For DTC P0455 (large leak detected), the vehicle will set the code due to large leak or purge blockage. A large leak can occur from an unseated tube connection, a damaged tube, a stuck opened canister vent valve or a stuck closed purge valve.
P0442 sets because of a small leak, which can come from a purge valve stuck open or a canister vent valve stuck open.
the passage
For DTC P0442 (small leak detected), the vehicle will set this code due to small leak. The leak can occur from a stuck open purge valve or stuck open canister vent valve.
Steps to confirm (in the document’s order)
Inspect every purge connection for proper installation, and look along the lines for damage or wear; if damage is seen, confirm it with the smoke test.
the passage
All purge connections must be inspected for proper installation. While inspecting the line connections, look for any signs of damage or wear along the lines. If any damage is observed, proceed to confirm via the smoke test.
Some leaks show only under pressure and some only under vacuum, so check both ways; cycling the purge and vent solenoids with GDS2 while inspecting may show a sticking valve.
the passage
Some leaks will only be noticeable under pressure and some only noticeable under vacuum. We recommend checking both ways. Also cycling the purge and vent solenoids with GDS2 while inspecting may indicate a sticking valve.
Critical connections to check include: purge tube to purge valve (at the intake manifold), purge tube to chassis EVAP line (rear of the engine, near the transmission), chassis EVAP line to canister, and fuel tank load line to canister.
the passage
1. Purge tube to purge valve (at intake manifold) 2. Purge tube to chassis EVAP line (at rear of engine, near transmission) 3. Chassis EVAP line to canister (at canister) 4. Fuel tank load line to canister (at canister)
Also check the vent valve line at the vent valve, the fuel tank load line jumper connection near the fuel tank, and that the fuel tank cap is closed properly.
the passage
5. Vent valve line to vent valve (at vent valve) 6. Fuel tank load line jumper connection (near fuel tank) 7. Fuel tank cap is closed properly (at refuel compartment)
If all connections are good, check the vent valve for a stuck-open position; if the vent valve works correctly, go on to the purge valve.
the passage
⇒If all connections are good, the vent valve should be checked for a stuck open position. ⇒If the vent valve is verified to be functioning correctly, proceed to investigate the purge valve.
Work in this order: EVAP lines properly installed and fully seated; damage on the EVAP lines; vent valve malfunction; purge valve malfunction.
the passage
1. Investigate all EVAP lines are properly installed and fully seated. 2. Investigate for any damage on the EVAP lines. 3. Investigate potential vent valve malfunction. 4. Investigate potential purge valve malfunction.
Correction
Parts
No parts are required for this repair.
the passage
No parts are required for this repair.
Caution
For diagnostic instructions, DTC information and required tools, always follow the service information document for the vehicle and DTC being worked on.
the passage
For diagnostic instructions, DTC information and tools required, remember to always follow the service information (SI) document associated to the applicable vehicle and DTC you are working on.
Compiled by reading the full text of the document; each point stands on the passage shown. Check the document itself, linked below, before working on a vehicle.
Stated content
Communication summary
本サービスブリテンは、MILが点灯し、DTC P0442および/またはP0455が設定されたお客様の不具合に対処するため、EVAP システムの漏れの可能性をテストするための診断のヒント/手順を提供しています。 Machine translation (unreviewed)
This service bulletin provides diagnostic tips/steps on testing for possible EVAP leaks in the system to correct a customer concern of an MIL Illuminated with DTCs P0442 and/or P0455 Set.
Go to this passage in the original
Source
- Source
- NHTSA Manufacturer Communications
- Source reference
- 10228888
- Received by source
- 2023-01-06
- Incident date
- Unknown
Open original text and sourceOpen the provider's page (external)